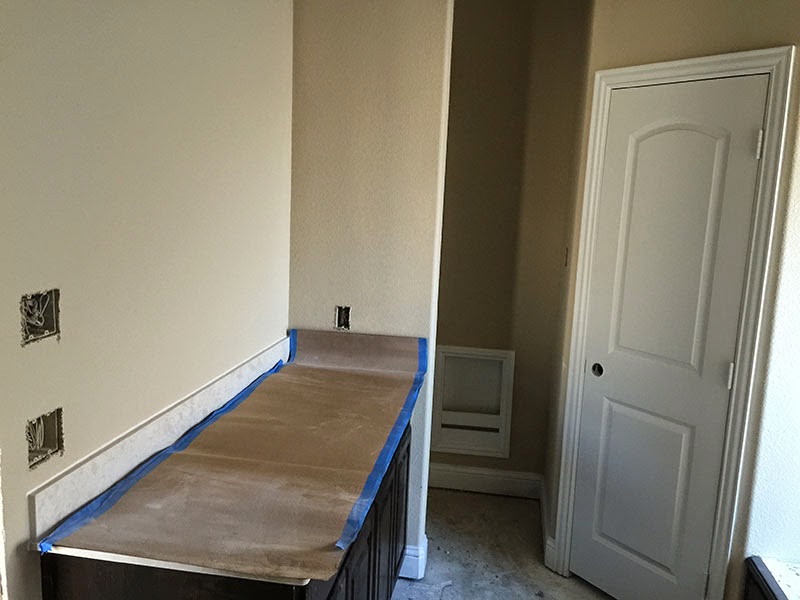
We had an appointment with the design studio today to pick our options and upgrades. They normally do the colors one day and the electrical another day. We did it all in one day.
Everything went really well despite me throwing my back out two days ago and feeling dreadful. We did a lot of homework and discussed at great length what we were willing to spend before we went over there.
Give a little here and take a little there, we ended up with a really good deal that we felt comfortable with.
We thought that we would add hard floors later, add ceiling fans later, add blinds later and a few other things later. Part of the problem with planning around this particular design center is you have no idea what they charge and no idea what is standard and no idea what choices you have.
We found out that the standard carpet sucked and that removing in at a later date would also destroy the baseboards and paint. Upgrading the carpet would have been expensive. We had no other logical resolution but to consider tile flooring or wood flooring installation during the initial build. The price was staggeringly low. We jumped on it. Additionally, many of the electrical add ons that we had planned ended up being standard features.
The only thing putting us off balance will be that we had hoped to save more money to do the wood floor perhaps next year. So, we're just going to have to take a hit on that from the get go.
They originally said 6-9 months to build. I'm hoping it takes the full 9 months now so that we can have a larger downpayment.
At the end of our appointment we paid our up front cash cost of 20% and signed the papers.
Next appointment: in two weeks there will be a pre-build meeting where we discuss construction, the lot, landscaping, fence line etc... roughly mid February. More on that later as we get closer to that date.
Here are photos of our choices.
Overview
Second bath sink (top), master bath sinks (bottom).
Brick
Cabinet color and rounded top molding.
Kitchen cooking appliances.
Fixture color and glass color.
Kitchen sink style.
Kitchen countertop
Household tile.
Wood flooring (real wood).
Shower tile detail.
Here are screenshots of these products pulled from the web.
Bath vanity and shower seat
American Vintage Group - Marlana - Rave
Brick
Bilco - Bristol - Gray
Blinds
Woodcreek - 2" Capri-Designer - White
Master Closets Carpet
Optimum - 00747 Thornwood
Front Door Hardware
Daytona - Oil Rubbed Bronze
Bath Wall Accent
Lucente - Linear Glass & Stone Mosaic Blend - Tromba
Exterior Paint
Cobble Brown - SW 6082
Dishwasher
Frigidaire - FFBD2406NS - Steel
Electric Range
Frigidaire - FFEF3018LS - Steel
Microhood
Frigidaire - FFMV162LS - Steel
Kitchen Sink
American Vintage Group - Mirado - 310
Kitchen Countertops
American Vintage Group - Granite - Café Nero (Bullnose)
2nd Bath Drop-In Sink
Western Pottery - L-172 - White
Master Bath Hanging Sinks
Mirado - Style #1519 - White
Plumbing Fixtures and Interior Hardware
Delta - 4453-RB-DST no plate - ORB
and Windemere - ORB
Front Entry
PlastPro - Rustic Series - DRA2A - Minwax Walnut 606
2-Panel w/ Plank Arch Plank Square Square Top
Kitchen, Bath, & Utility Tile
Interceramic - 13x13 - Pinot Beige Teinturier
Trim Paint
Extra White - SW 7006
Walls and Ceiling Paint
China Doll - SW 7517
Wood Flooring
Canyon Creek Oak - 3" - Bridle
Cabinets
Sunrise Wood Design - Knotty Alder Raised Panel Arched Top - Jacobean
Grout
Buckskin - Beige 31


